
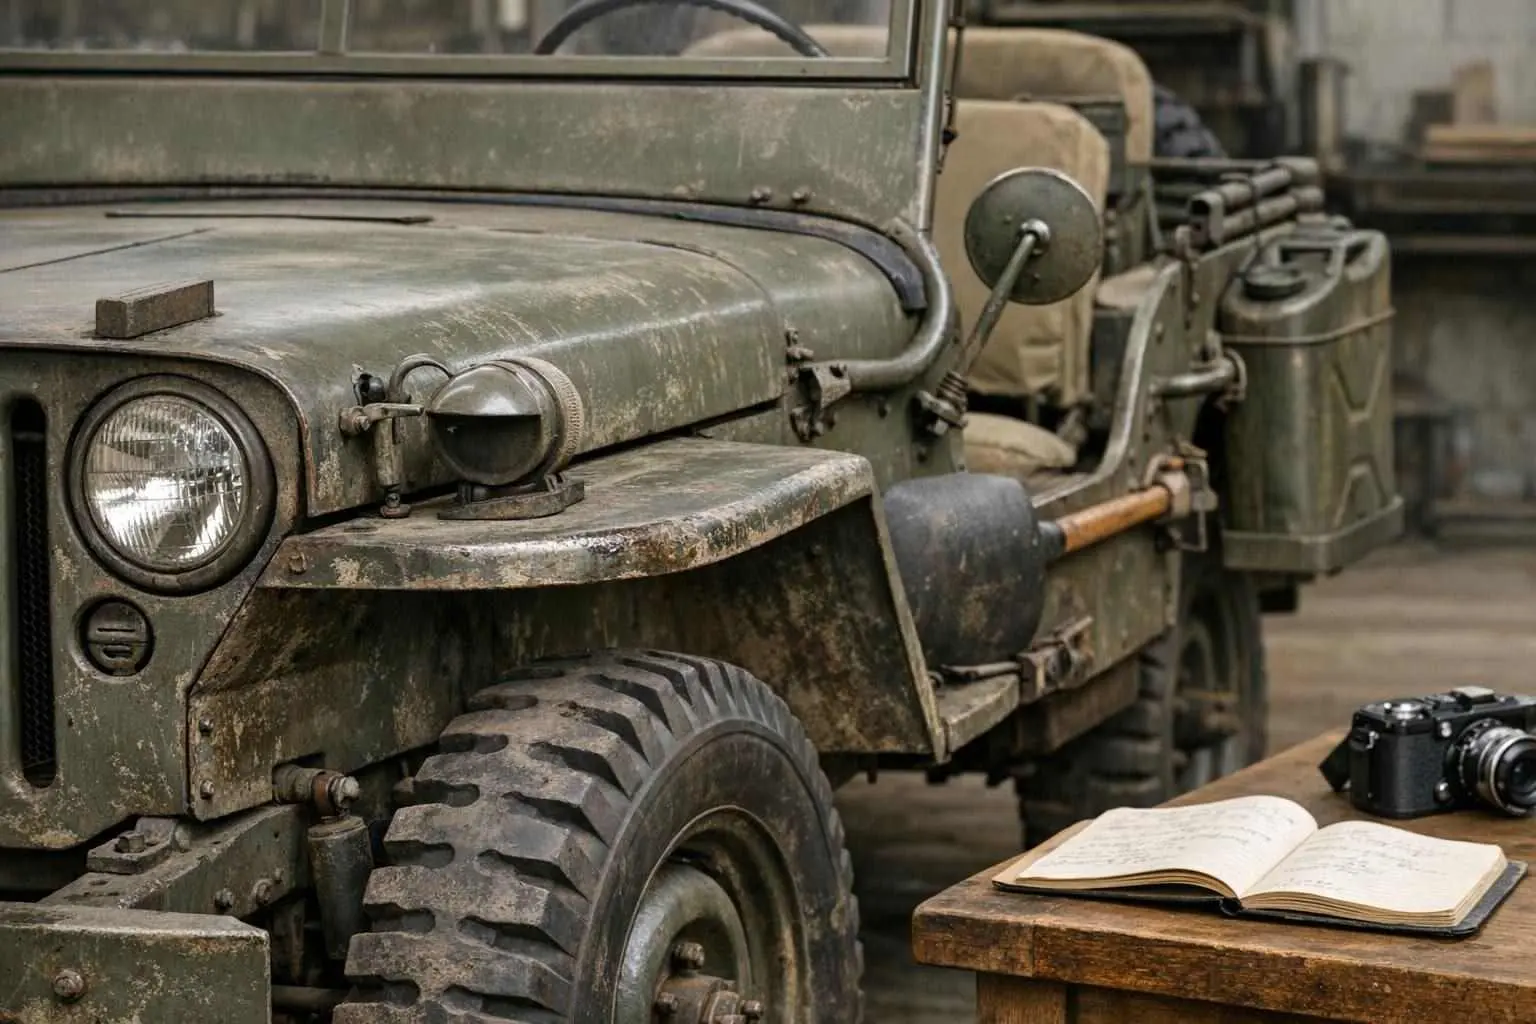
Don't scrape, cut or even clean your antique jeep before you take photographs of it and make notes about it. There is much evidence of a jeep's originality hidden in its grime. Some is quite obvious but can be easily damaged without knowing. Take photographs of any parts which you remove from the jeep. In some cases, the layer of grime on a surface can even reveal evidence of how a jeep was used or repaired.
Therefore the first record made of a vehicle prior to restoration needs to contain more than just administrative data. The evidence collected needs to form an evidence trail of what has been found, where it was found, how sure one is of the identification and the unknowns.
Freeze the vehicle in its found condition
Before anything is cleaned the first decision is to record the findings prior to commencing restoration. The findings from an initial inspection could easily be erased prior to a military jeep being cleaned, stripped down to individual assemblies or even part broken down for burial in scrap heap.
Take written notes of the complete vehicle in its found state. These should include a detailed list of missing parts, loose articles found within the vehicle, any obvious damage, suspected later articles and any items which appear to have been altered or altered to fit the vehicle in some way. Try to use the most accurate term to describe what you have found. 'Repair' or 'Rebuilt' are examples of terms which are far too vague. For example 'Likely later replacement' is more helpful than 'Later Replacement'.
Good photographs cover both detail and context of the whole jeep in all its found states as well as close up photographs of unusual repairs, cracks, drilled holes, welds, brackets, cable routing etc. Also in unusual states ie. parts removed or lifted up. Scale references should be included where necessary to establish size of something important. However these should not obscure the important part or feature being photographed and described. Ideally these images would then be sequenced to form a 'story' of the vehicle's history and development.
These files should be left in their original format and copies annotated as necessary and filed under simple names such as a body area and date of image. The image and notes should clearly state what you can see and what you cannot determine from the image(s).
Read the jeep as a layered object
Often, a vehicle will have been subject to many different events. So, it can be a multi-period vehicle and contain evidence of manufacture, military use, civilian use, storage, and earlier restoration. These different layers can be overlaid, for example, a later layer of paint may cover an earlier mark, a replacement panel could have different construction details, and a repair can explain why two parts do not seem to fit together.
Consider the findings as a whole rather than individually. A fastener is much more meaningful if one can describe the state of the surrounding hole as well as the component to which it belongs and whether its neighbors are of similar type. A painted surface must be compared with protected parts of the same object as well as with edges and seams, and the reverse sides of removable parts. It is easy to mistake the cause of color changes with time (such as aging, exposure to the environment, dirt, etc.) with intentional marks from a bygone era.
Remember that pictures of numbers, etc. must not be 'tidied up' and that all markings should be transcribed exactly as seen with uncertain characters noted in brackets. It is also important to note the exact location and orientation of each marking on the jeep. A number without a location is virtually useless, particularly when a part may have come from another vehicle.
Don't assume something is original just because it is old. Similarly don't assume the converse i.e. that something unknown must be a reproduction. Allow time for investigation of the purpose of the unknown feature before reaching conclusion as to its history. Do not try to create a neat historical story at this stage but rather try to establish all the different ways in which the history of the vehicle could have unfolded and then allow later research to test out the different possibilities.
Build a component and marking map
Detail of jeep body and engine, noting location of various components. A simple diagram such as that shown here would be sufficient for a basic map of the vehicle parts. Note that each major area of the jeep should be assigned a consistent label. The photograph should show all sides of a component and any adjacent parts.
Take photos of the parts before they are removed from the jeep. The photos should show how the part was attached to the jeep and how adjacent parts fit together. This is particularly important for things such as shims and spacers, and for washers, and for clips that hold things together, and for wiring, and for small brackets that attach other parts to the jeep. These things can look symmetrical on a workbench, but may have been installed differently in the jeep. A simple sketch or quick diagram can record these relationships which will otherwise be lost in the photos.
Individual items such as loose washers, damaged screws etc should be put into bags. Every part that is taken off should be labeled with the location where they were found. Damaged items that appear to have been previous repairs should be left with the rest of similar items until assessed. Note that damaged parts can provide positive evidence of previous repairs.
A parts map can help to distinguish between original missing parts and those that were removed for safety, in storage or for previous repairs. It is also useful to record who has removed a part and to update the map as the condition of the part becomes clearer. The map will become a useful record of what has happened during the disassembly process.
Separate observation from interpretation
The observation of visible features (e.g. "Three holes are present in the left side panel") must be clearly distinguished from their possible interpretation (e.g. "The panel was modified for a later fitting").
Determine level of certainty on the evidence presented for a particular conclusion (confirmed, probable, possible, unknown). If sufficient information is available, state the basis for the conclusion (e.g. matching wear, cut edge, surviving outline, associated fasteners, comparison with another part of known provenance). Conflicting information should be recorded as well and the user advised that the author has been unable to reconcile the differences. A part that fits well may be historically inappropriate, while a part that appears to be in original condition may have been modified for service use.
One needs to distinguish between the provenance of a jeep and its identification as a physical object. The previous owner of the jeep may have the best information as to where it came from but that does not mean the vehicle itself will support all of that information. Therefore dates, names and documents pertaining to the jeep need to be reported as such and verified where possible as the story is very plausible and therefore susceptible to being wrongly accepted as fact.
Set priorities before restoration work begins
After completion of the basic documentation the material then needs to be protected. Especially prone to damage are markings, original coatings and repairs of unknown history. It is best to address these points as soon as possible, also to ensure that no damage is caused before work is commenced to restore the vehicle to safe operating order. Where work is needed to rectify a serious safety issue this can be addressed immediately but first record and take photographs of the affected area before starting.
A short decision log for cleaning, repair and replacement would be helpful in stating the problem; the evidence; the proposed course of action and the information that will be lost. This will enable a later investigator to understand why a particular decision was made in respect of worn surfaces etc. and to re-assess if necessary.
Ultimately what one wants to ensure when documenting a vehicle for restoration is that such material can later be used to account for decisions made by the restorer with the part in question – whether he or she chose to keep it, to repair it, to replace it with a new part or even to ignore it. Subsequent information will, as with any old vehicle, come to light. A restoration that starts off by ensuring all unknowns are recorded, should also, in the end, be able to guarantee that the fullest possible account of a vehicle's past has been captured and preserved – not just its outer appearance.